Installing Microsoft Windows to Kimsufi (www.kimsufi.com) Dedicated Servers, is impossible using conventional methods due to the lack of a KVM console with video output, however Windows can still be installed!
We, the volunteers here at WhatUpTime, has built special templates allowing Windows to be installed via Kimsufi’s rescue system; their rescue system is included with all of their servers.
The guide below will walk you through the entire process, from beginning to end. Once you have reached the end of the guide your server will be successfully running Microsoft Windows Operating System.
Additional assistance is available via our community forums.
Tools You Need
- SSH Client (Putty is an excellent choice)
- Kimsufi Dedicated Server
- Remote Desktop Client (RDP) – “Remote Desktop” Client is built into all Windows Operating Systems
The Guide
- Log into your Kimsufi Control Panel
- Once you have logged in, you will need to navigate to your server list (At the top left of the screen)
- Choose “Manage” to the right of your dedicated server in the list.
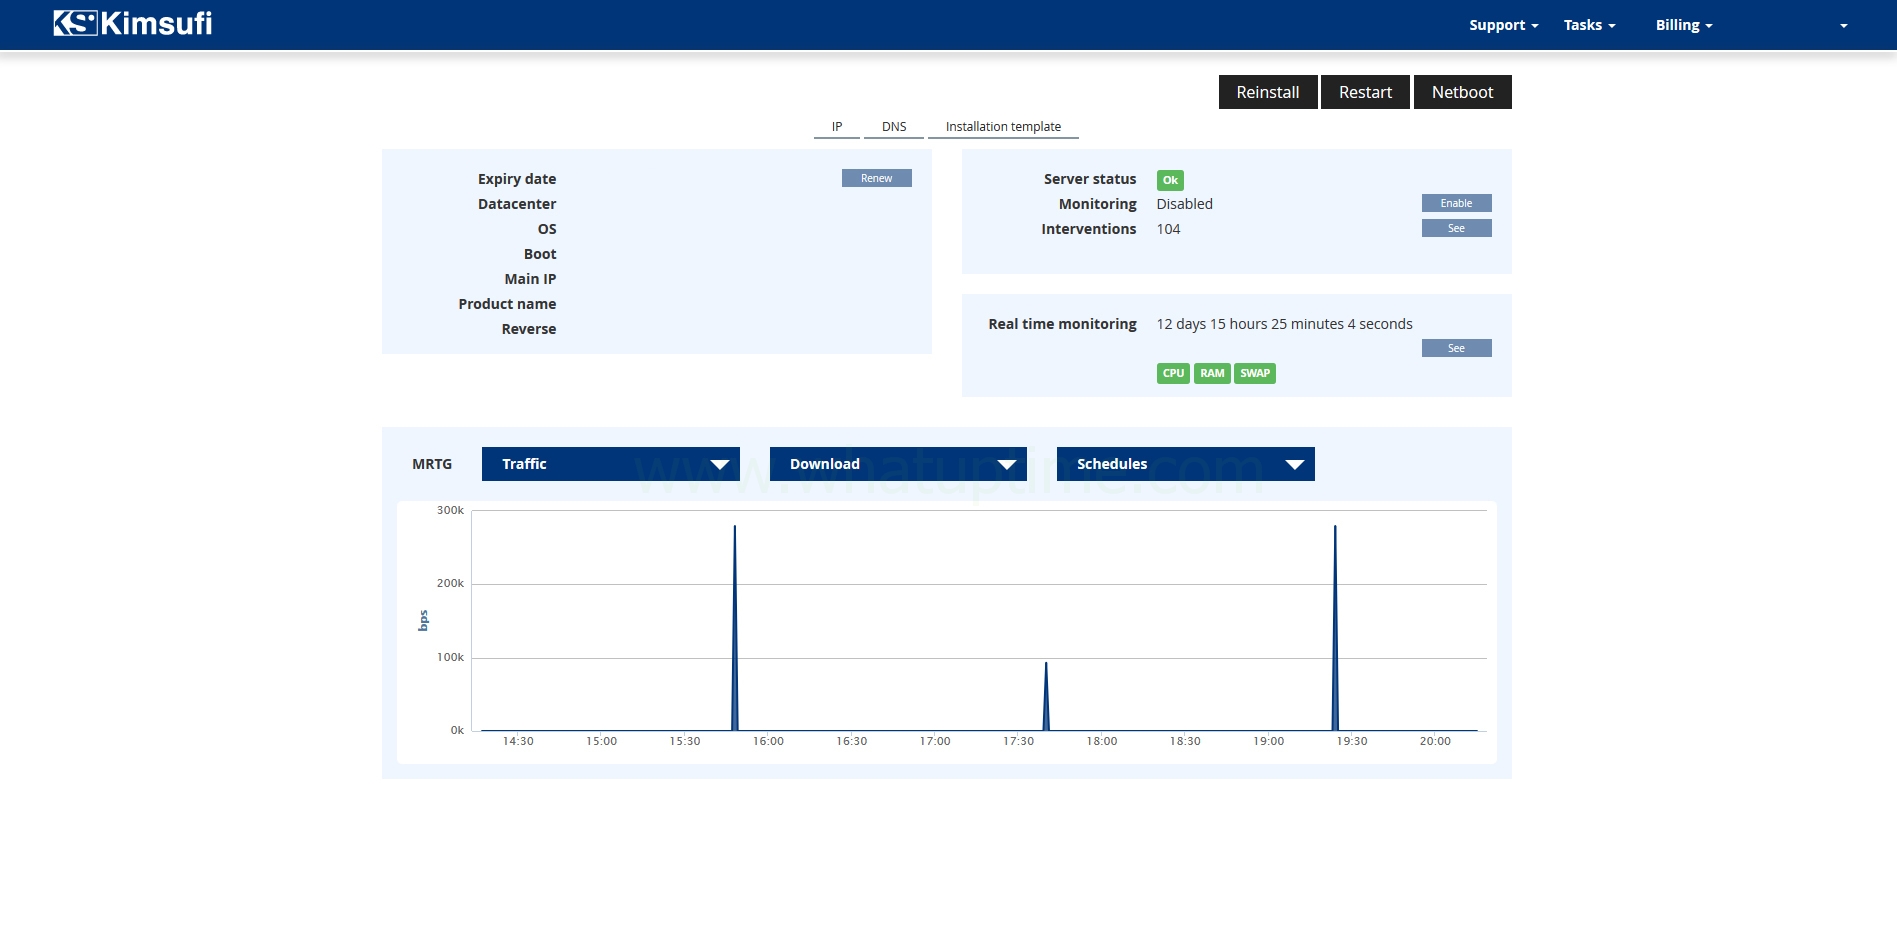
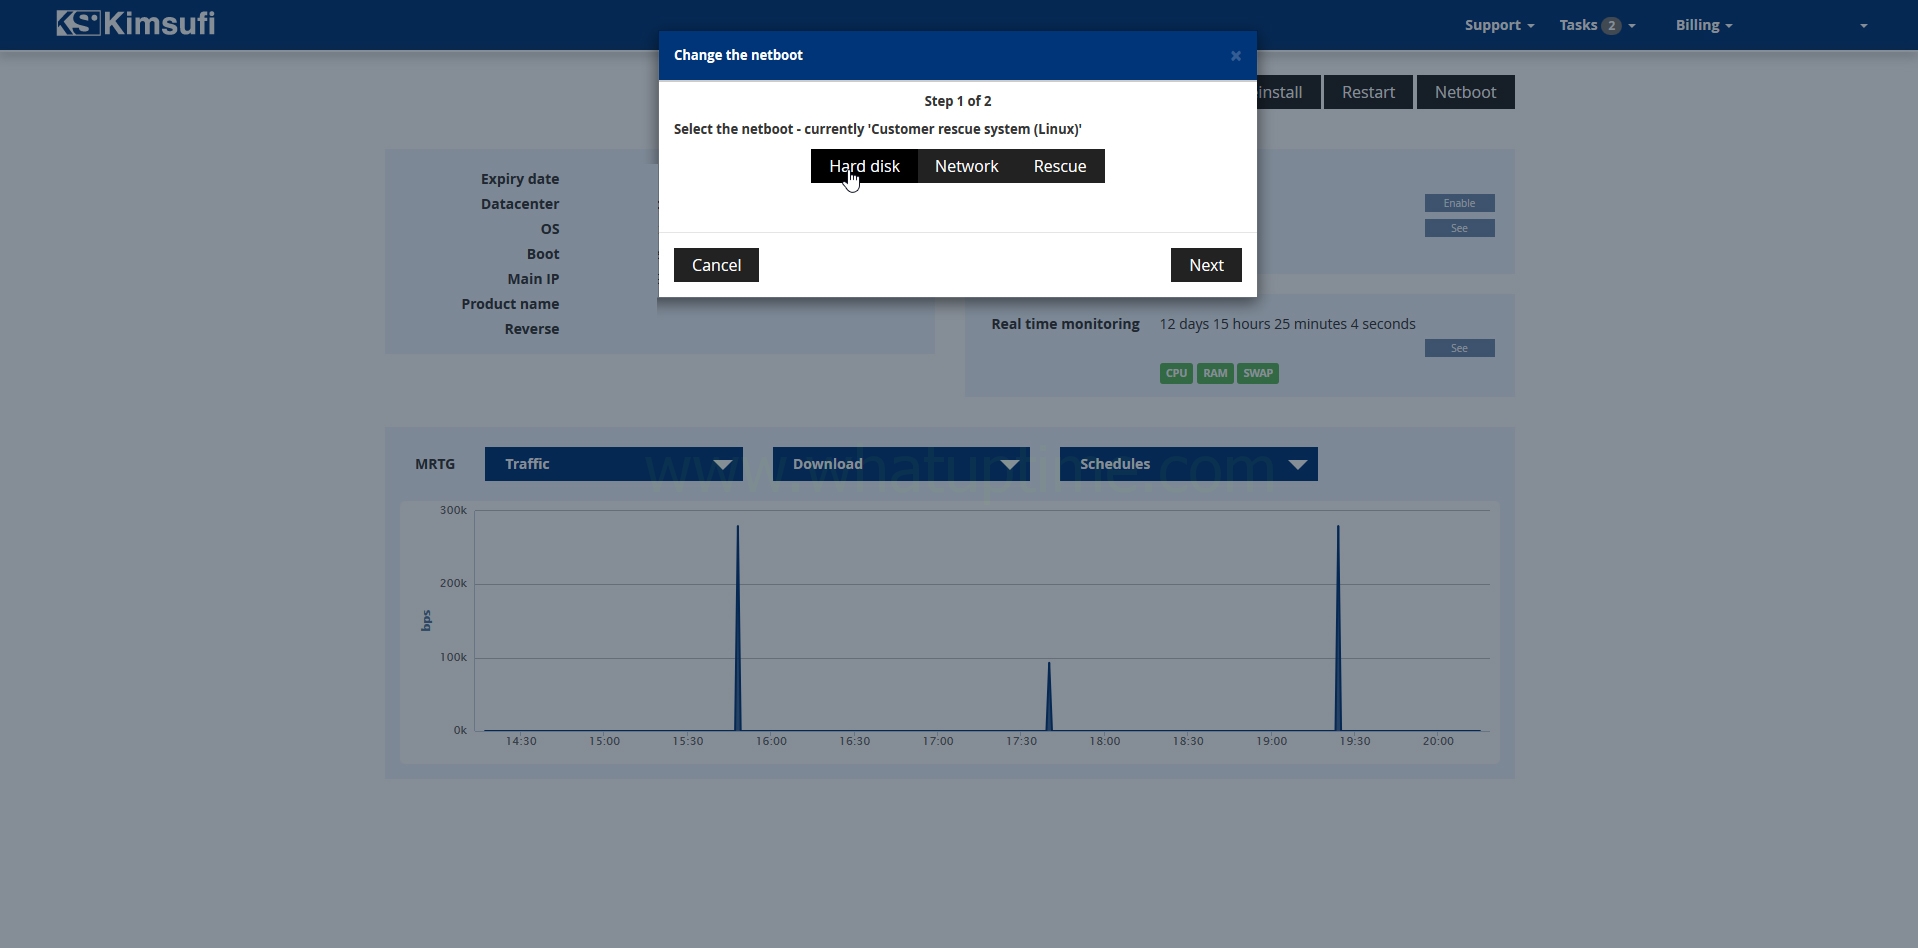
- Choose “Netboot”
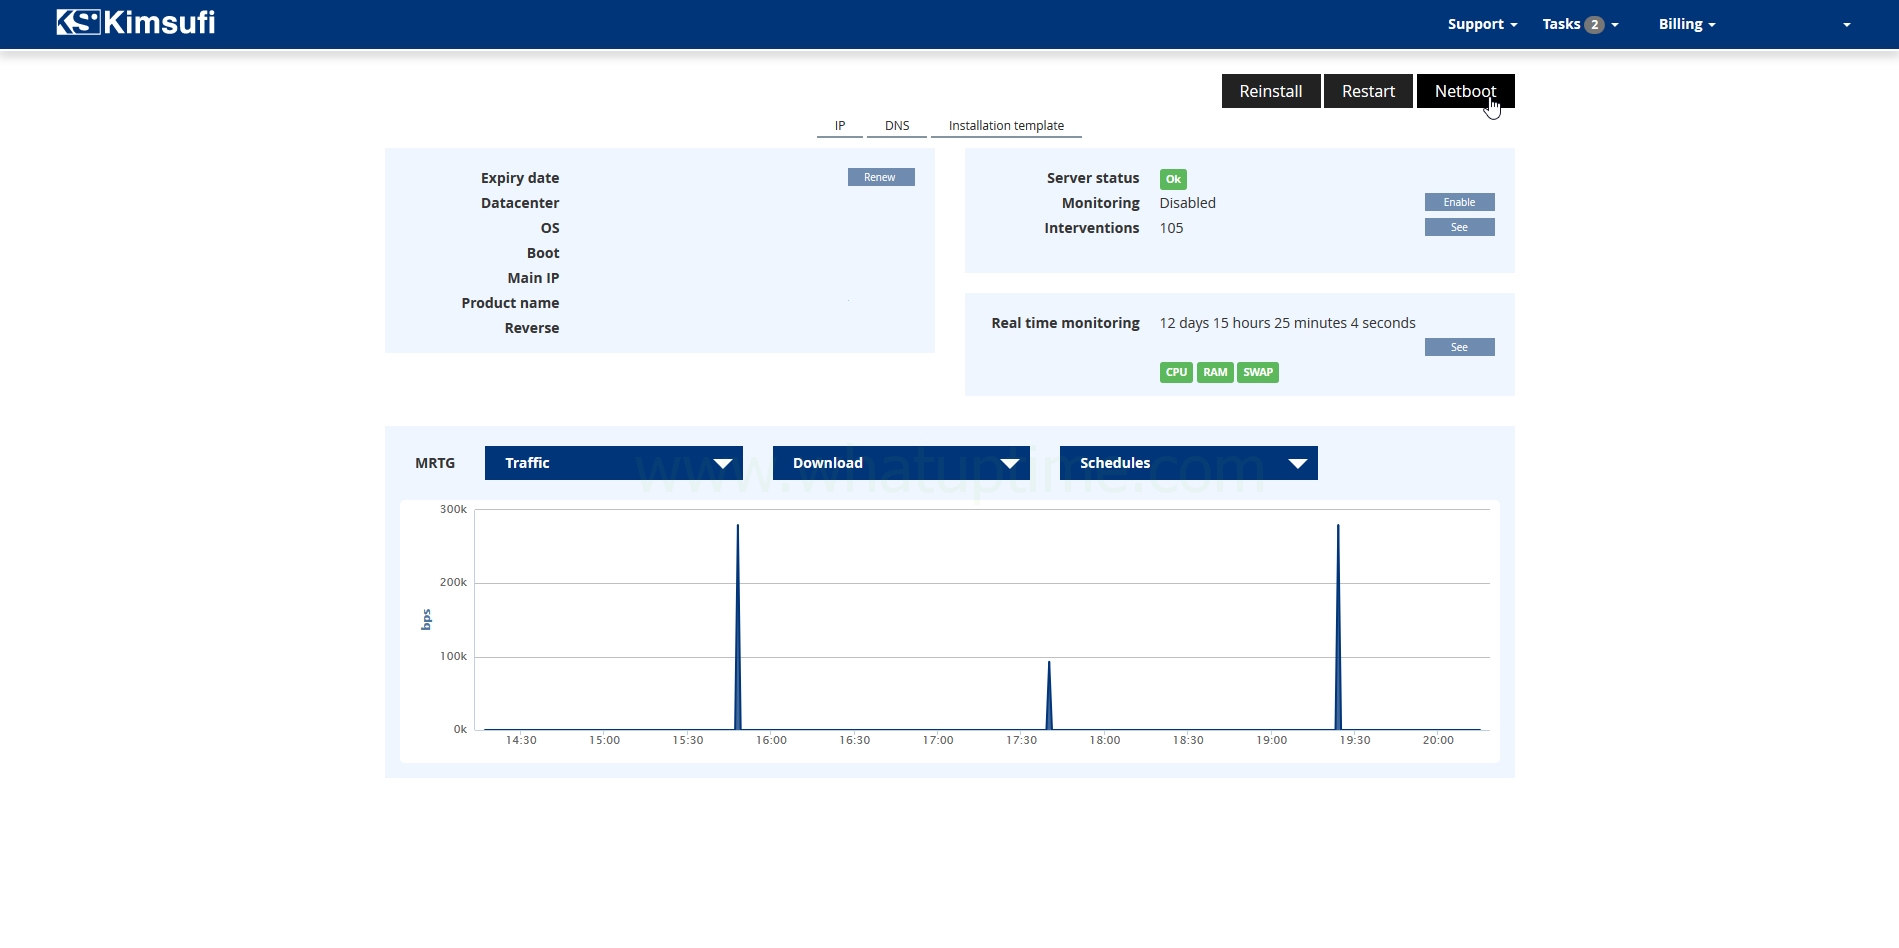
- Choose “Rescue” and select “rescue64-pro” from the drop down menu and click “Next”.
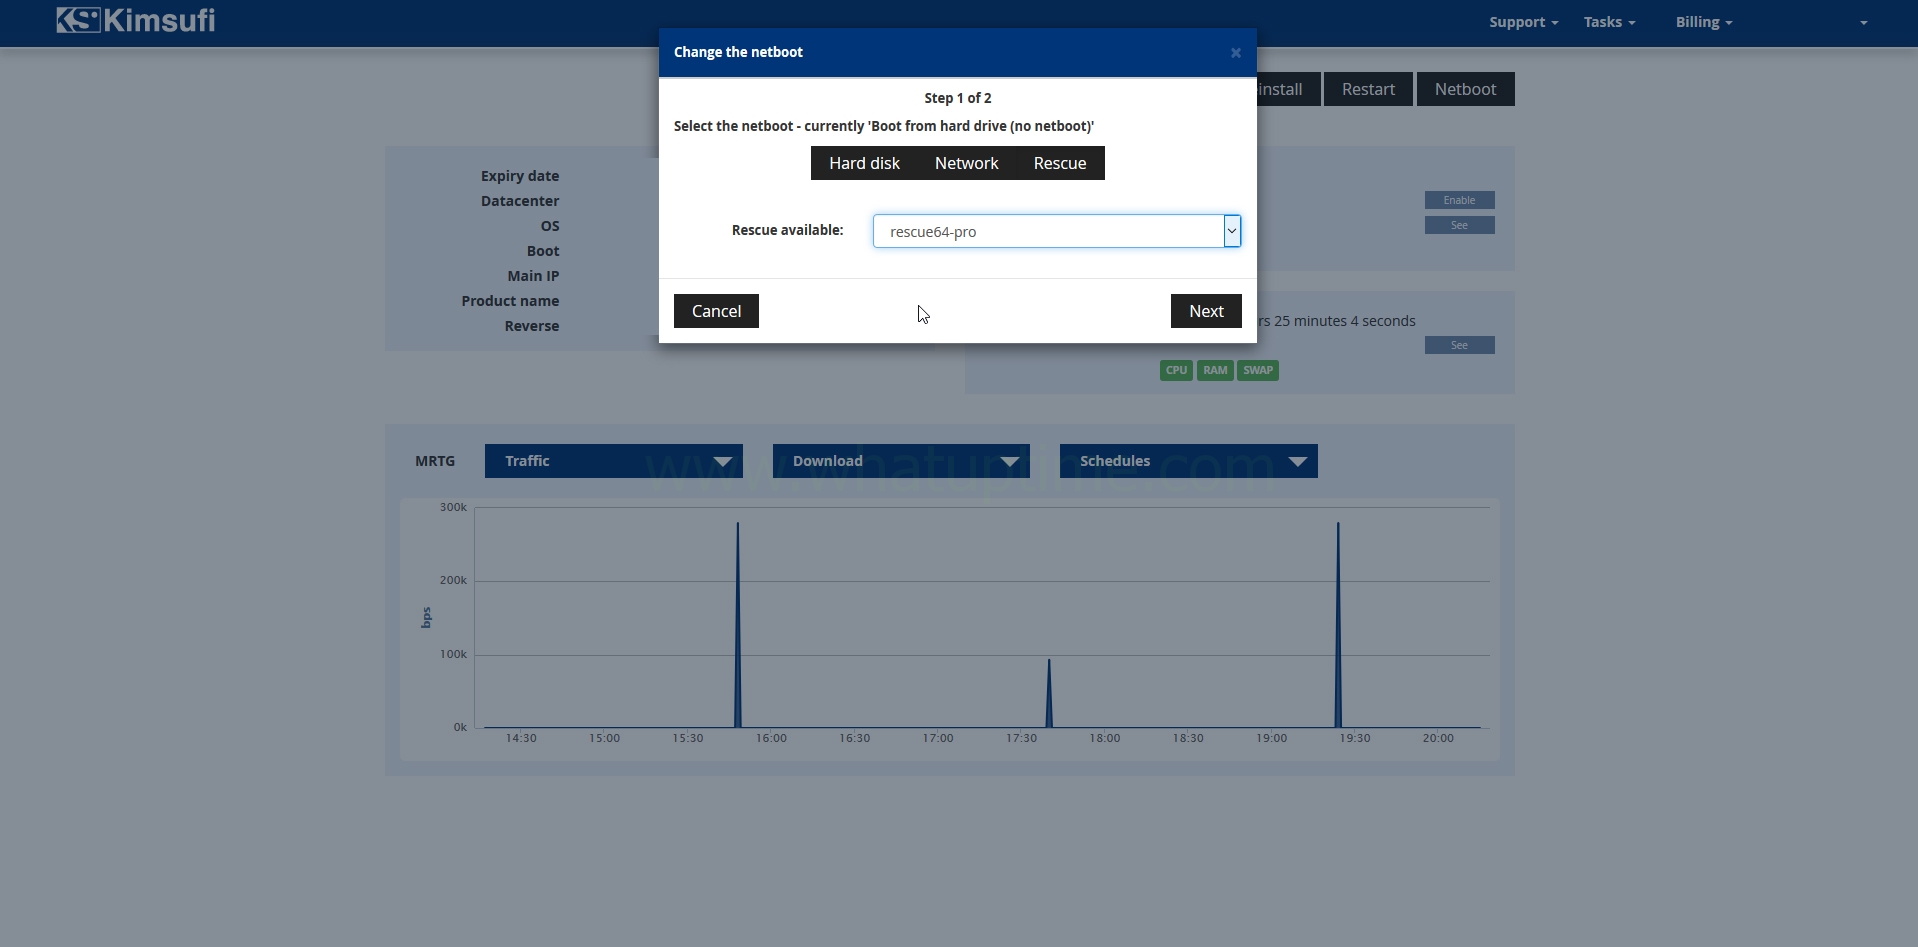
- Choose “Restart” then click “Confirm”.
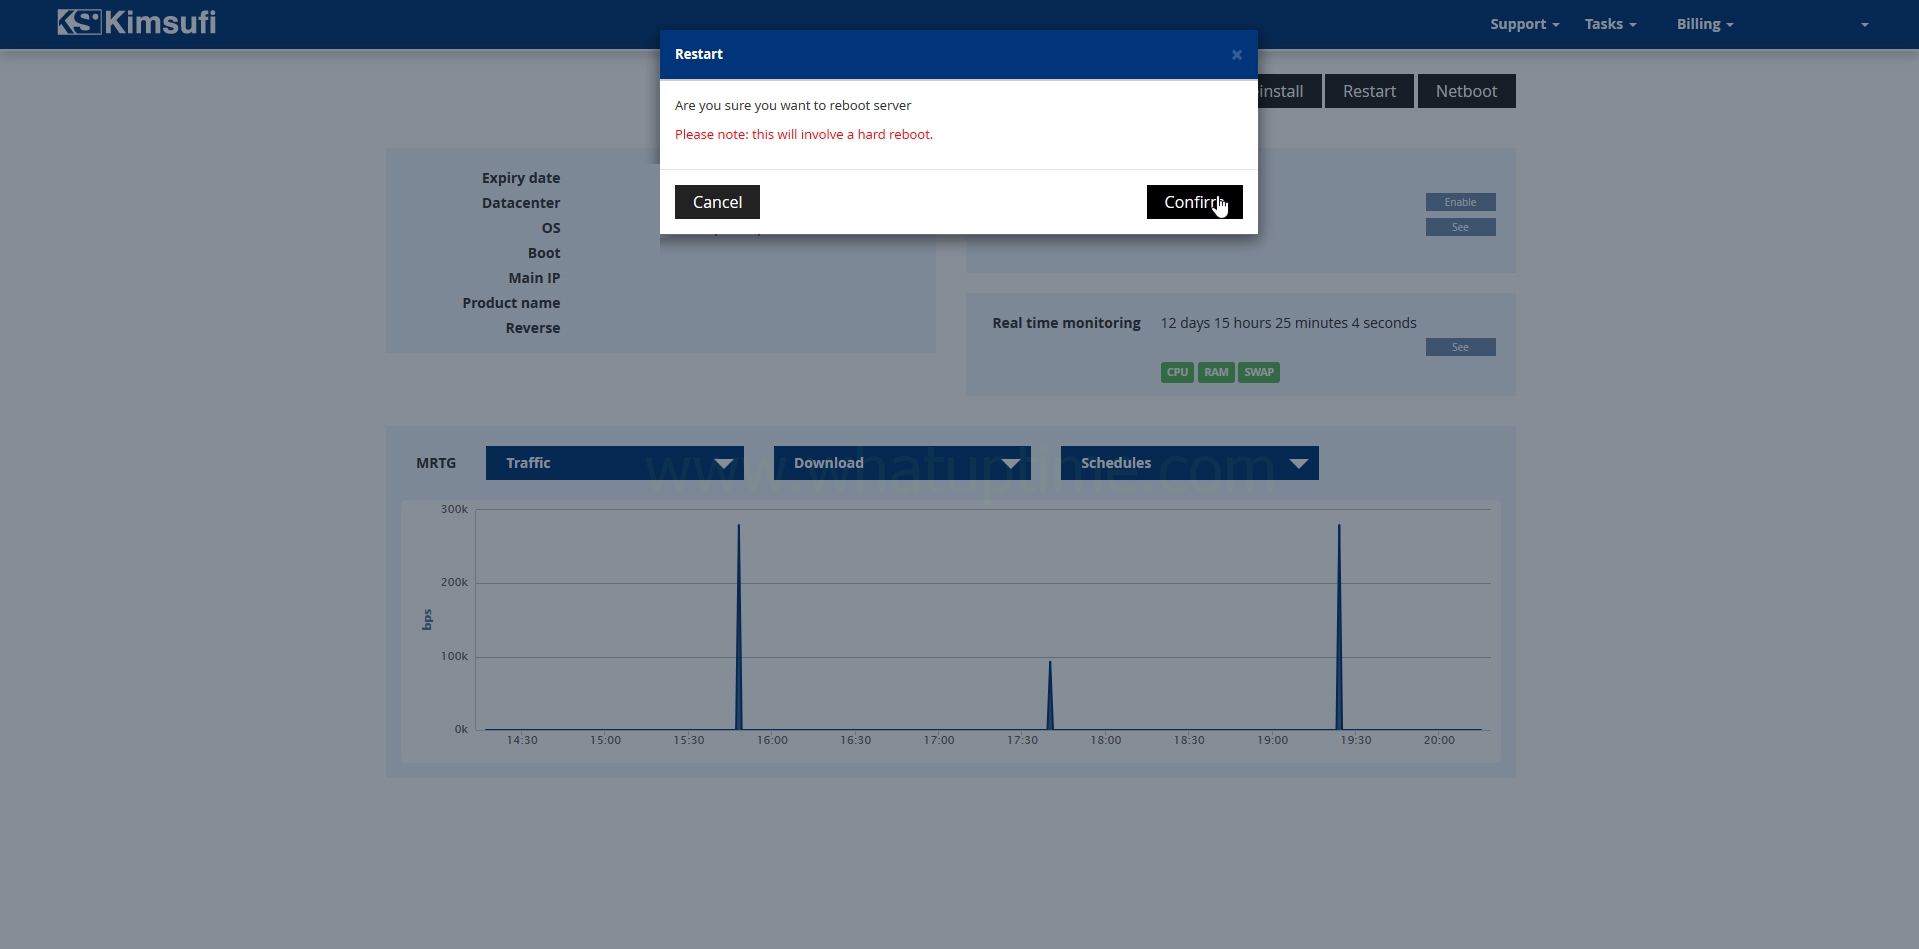
- Your server is now being restarted and will shortly boot into Kimsufi’s rescue mode.
- Once the server has been rebooted you will receive your SSH login details via email for the rescue system. You will access rescue mode for your server via SSH (Putty is an excellent SSH client); the guide will detail how to connect in the steps below.
- Start Putty
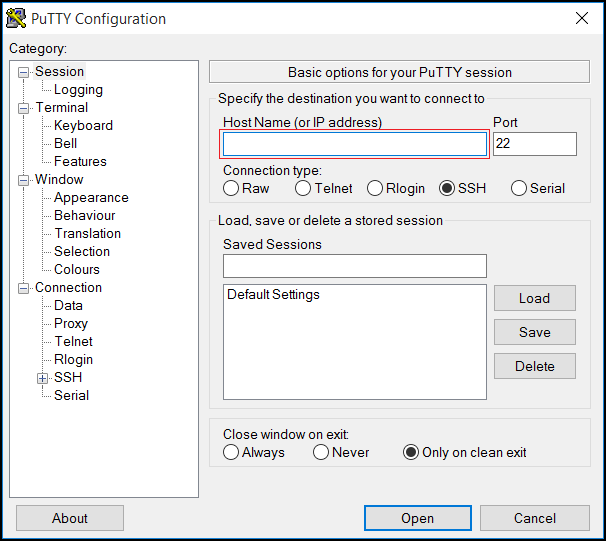
- Input your server’s IP address
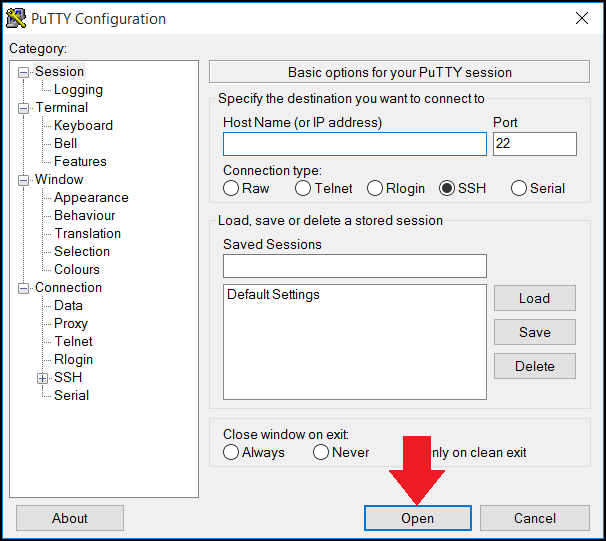
- Choose “Open” at the bottom.
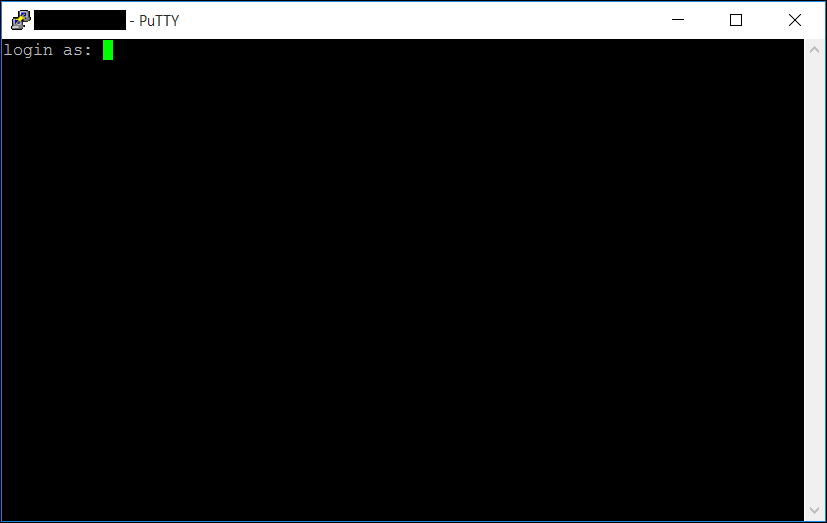
- Once you chose “Open” Putty will transform into a new, all black Window. At the very top left of the window you will find the prompt “Login as:”; here you will need to input the username provided on the system rescue page (See point #8 above) and hit “Enter” on your keyboard.
- Once you have entered the username you will be prompted for a password, here again you will need to navigate to your system rescue page (See point #8 above) and grab the password provided. You will then need to enter the password at the prompt and choose “Enter” on your keyboard.
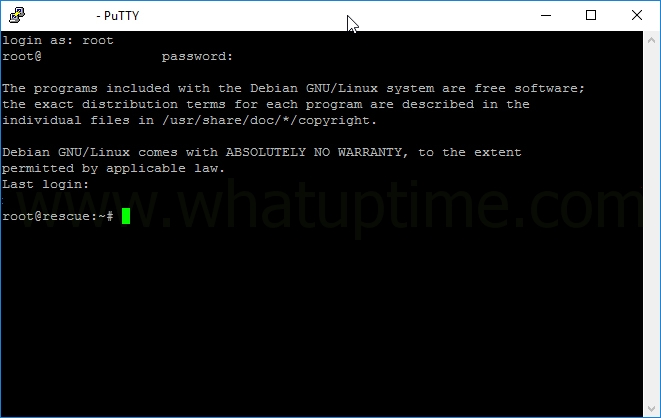
- Once you have entered your username and password you will be successfully logged into the system rescue for your server.
- Start Putty
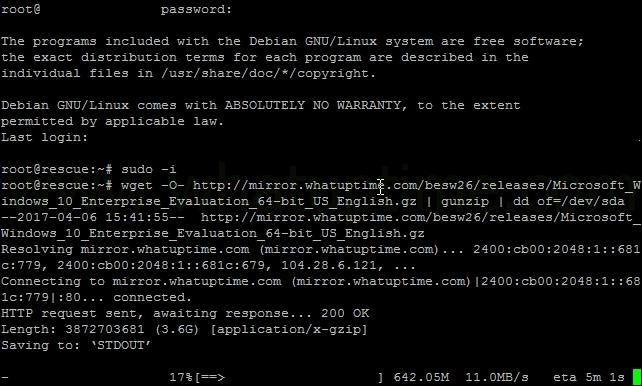
- At the prompt you will need to enter the following command:
[simterm]sudo -i[/simterm]
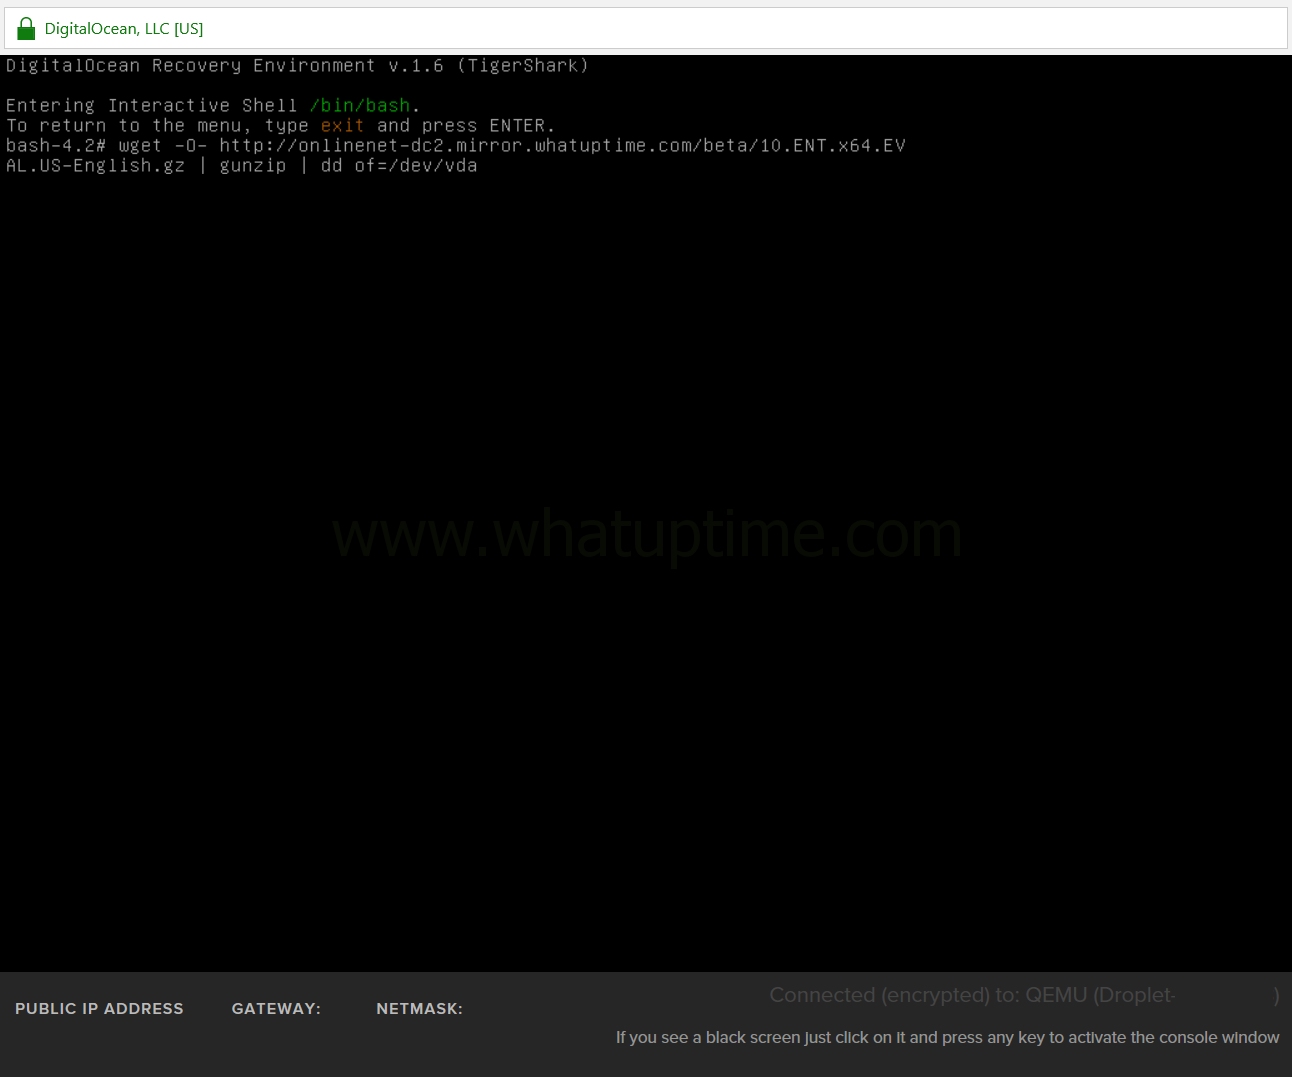
- To begin the Windows installation you will need to input the following command into your SSH client. Please ensure the command matches perfectly otherwise your installation will likely fail.
[donationlocker]
- Navigate back to the Kimsufi control panel web page and select “Netboot” then select “Hard disk” and click “Next”
- You may now log into your server using Remote Desktop (RDP) using the credentials listed above in step #13.
- Once you have logged into your server via Remote Desktop there are two additional steps you should take immediately to ensure your server is secure.
- Change the password for the “Administrator / WhatUpTime.com” account; a guide on how to change a password can be found here.
- Install all of the latest updates for Microsoft Windows.
- Activate Windows with your license key.
- Installing missing Microsoft Windows drivers using SDI, you can download it for free here.
- Change the password for the “Administrator / WhatUpTime.com” account; a guide on how to change a password can be found here.
Congratulations! You have reached the end of the guide and your server is now running Microsoft Windows!
[/donationlocker]
I’ve tried my best to install windows on an OVH VPS but I keep arriving on a blue screen with 2 options:
– Troubleshoot
– Turn of your PC
It’s the third time I’m installing it. (First time on ubuntu 14, thenUbuntu 16 and now centOS
Any help ?
Please create a thread in our community forums.
Hello,
I am waiting for an email on how to install Windows or how to download a windows template on a dedicated kimsufi server, I would like a template for Windows server 2012 R2.
I made a donation of $10, or I would appreciate knowing what I have to do.
THANK YOU
Ate.
Juan P.
is it still working
Good, yesterday payed 10$ and get access inmediatly.
Thank you for the great guide – it all worked for me like a charm!
An important question though – how it is possible to create a custom Windows template for Kimsufi, which will contain the pre-activated (with my purchased license) Windows Server 2012 R2 Standard version and all already installed custom programs inside the same Windows template?
I have installed, activated and configured my Windows Server, installed and activated all the custom software programs on it that I need. Now is there a way to create a full custom Windows template from it and store it somewhere on my own website? If it is possible – would be very grateful for sharing the instructions (I already made a donation to you obviously).
Thank you very much in advance!
Alex
Does ist still work?
Yes, everything is still working as expected.